I used a blurring affect to make my friend stand out in the photo. The project was quite straight forward and simple.


The first thing I did was crop the image using a marquee tool. Since there were three pictures, I tried to be creative in each one. Along with using filters, I also used color balance and even the paint brush. In the last picture I selected two people and used blur.

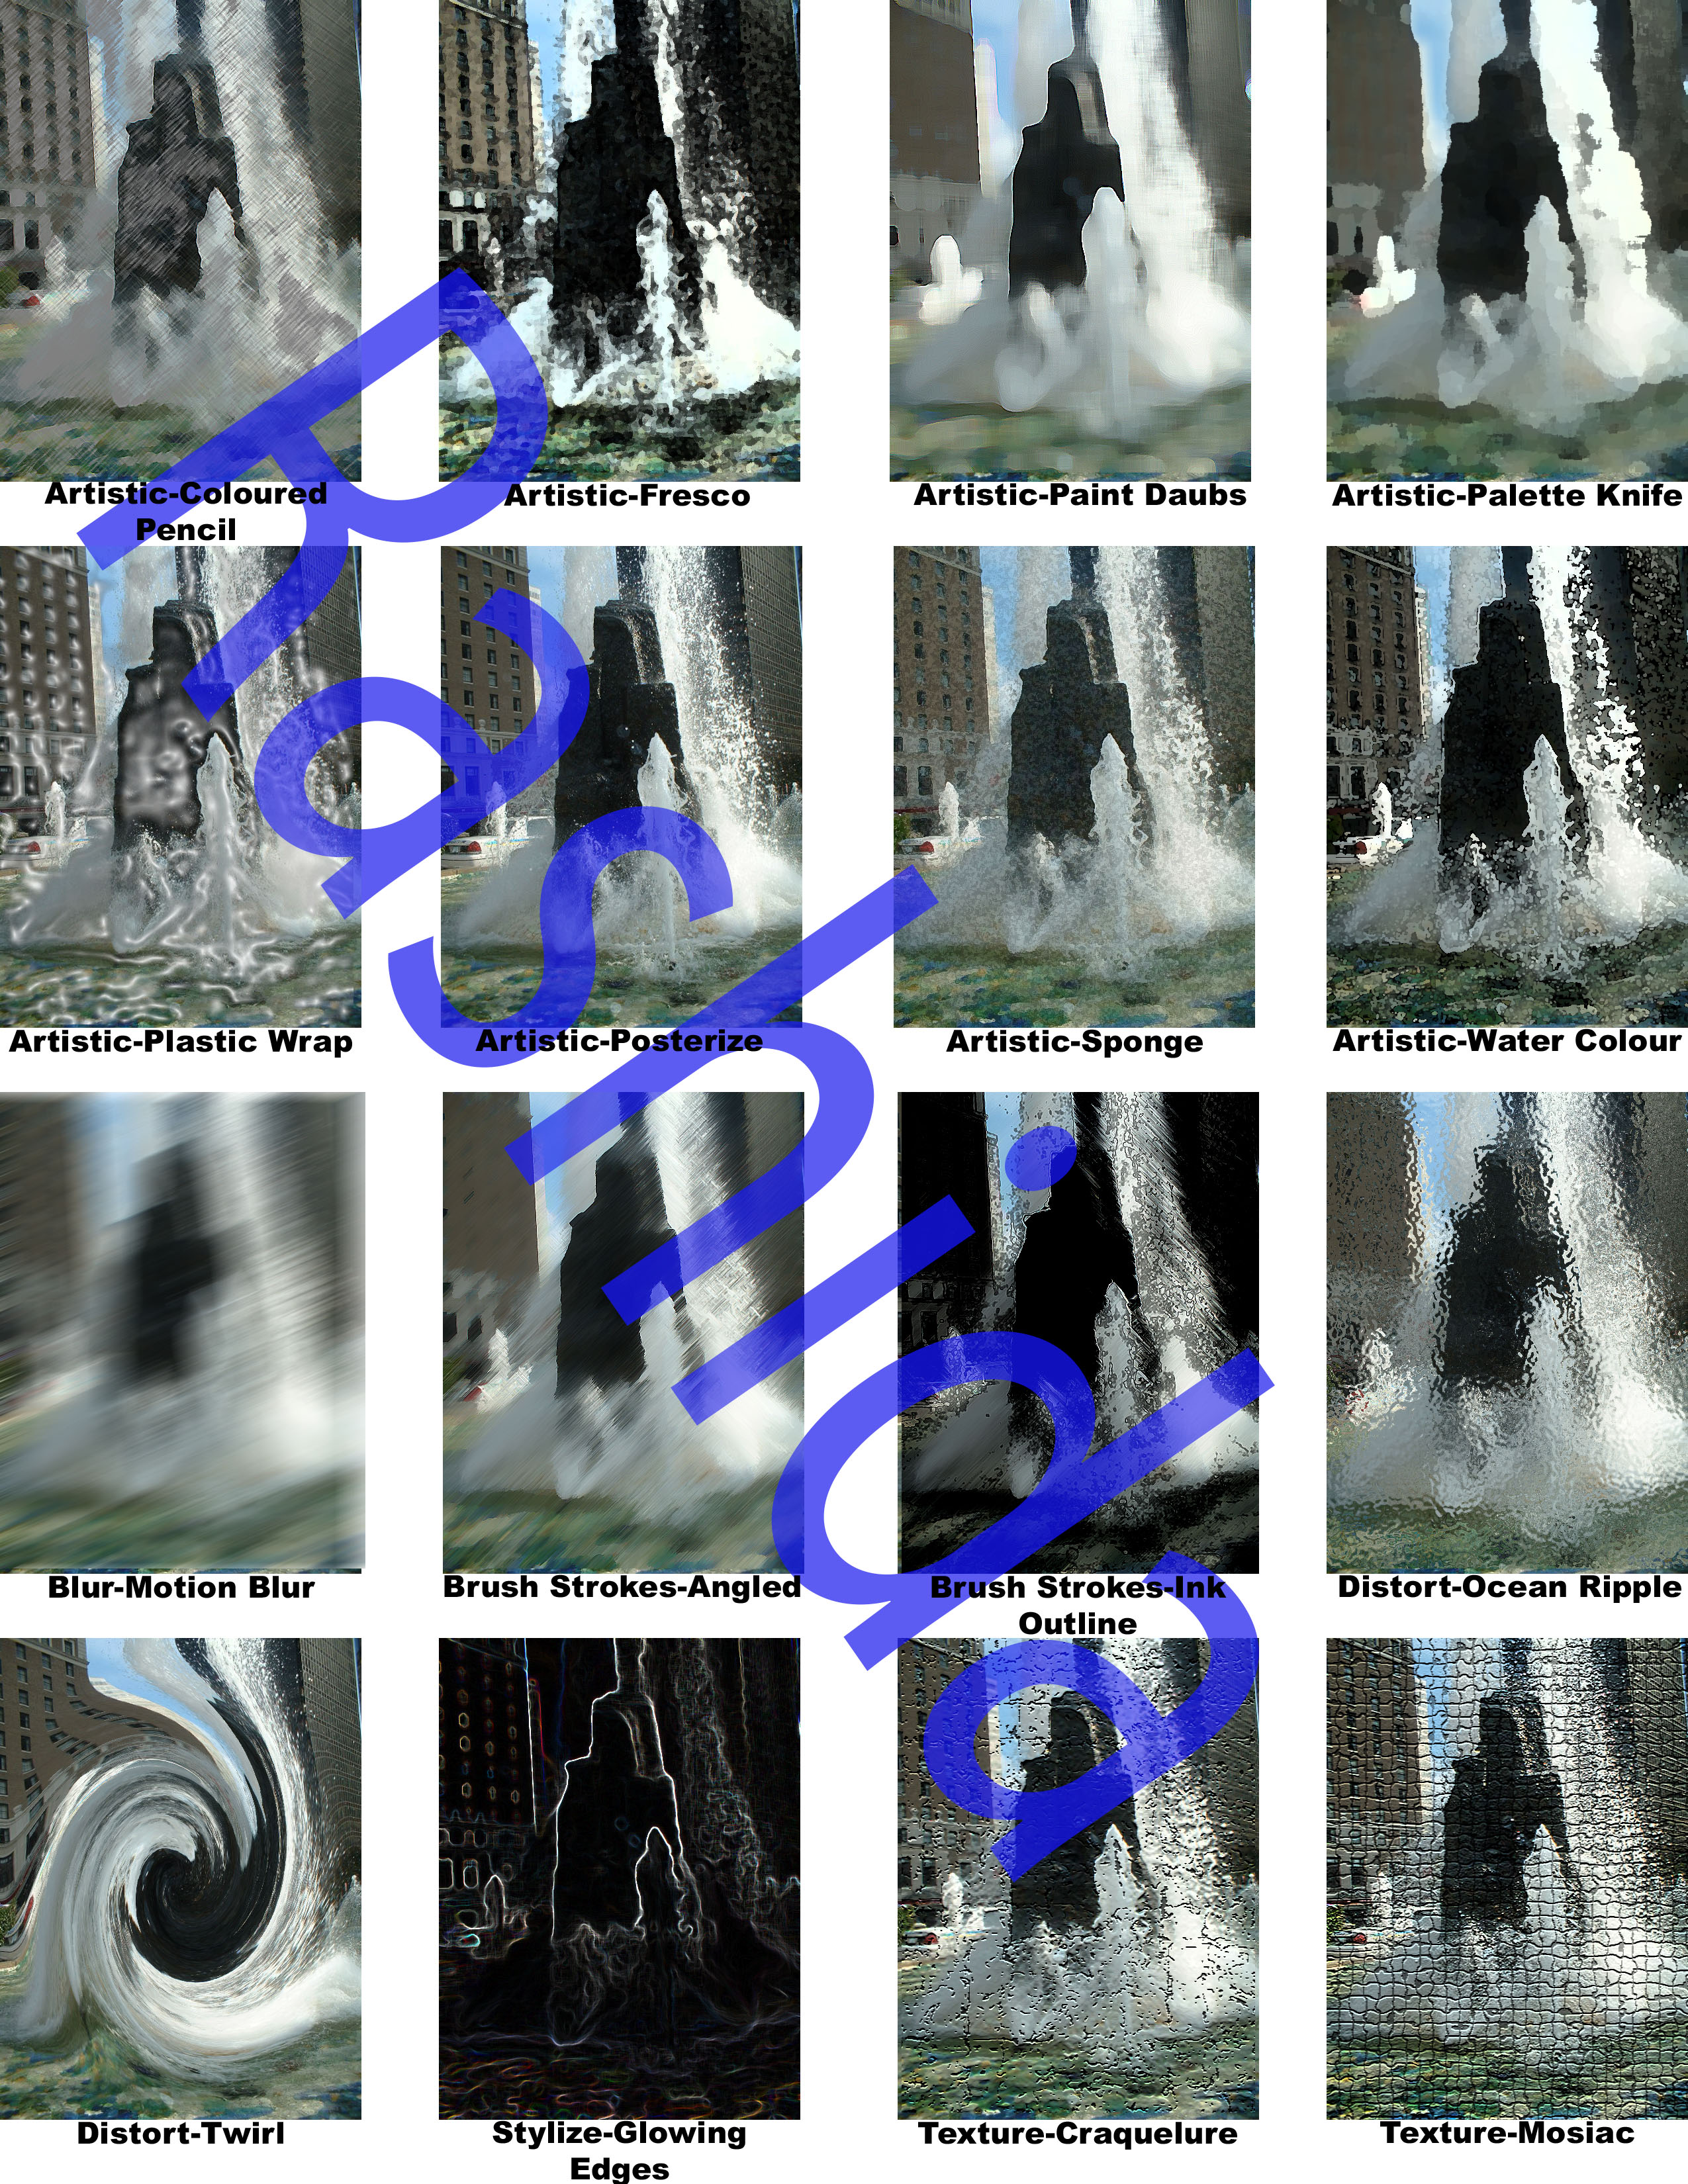
Adding filters was one of the easiest things in Photoshop. The only problem was having to do the same steps over and over again. You just use a marquee tool and then go to filter gallery depending on the result wanted.

This was also a fairly easy project. There weren’t too many steps that I followed. The only problem I had was choosing correct colors, but I fixed that by experimenting.

This project was fairly easy. All I had to do was follow the steps and it all came together. There aren’t really any flaws that I would change.


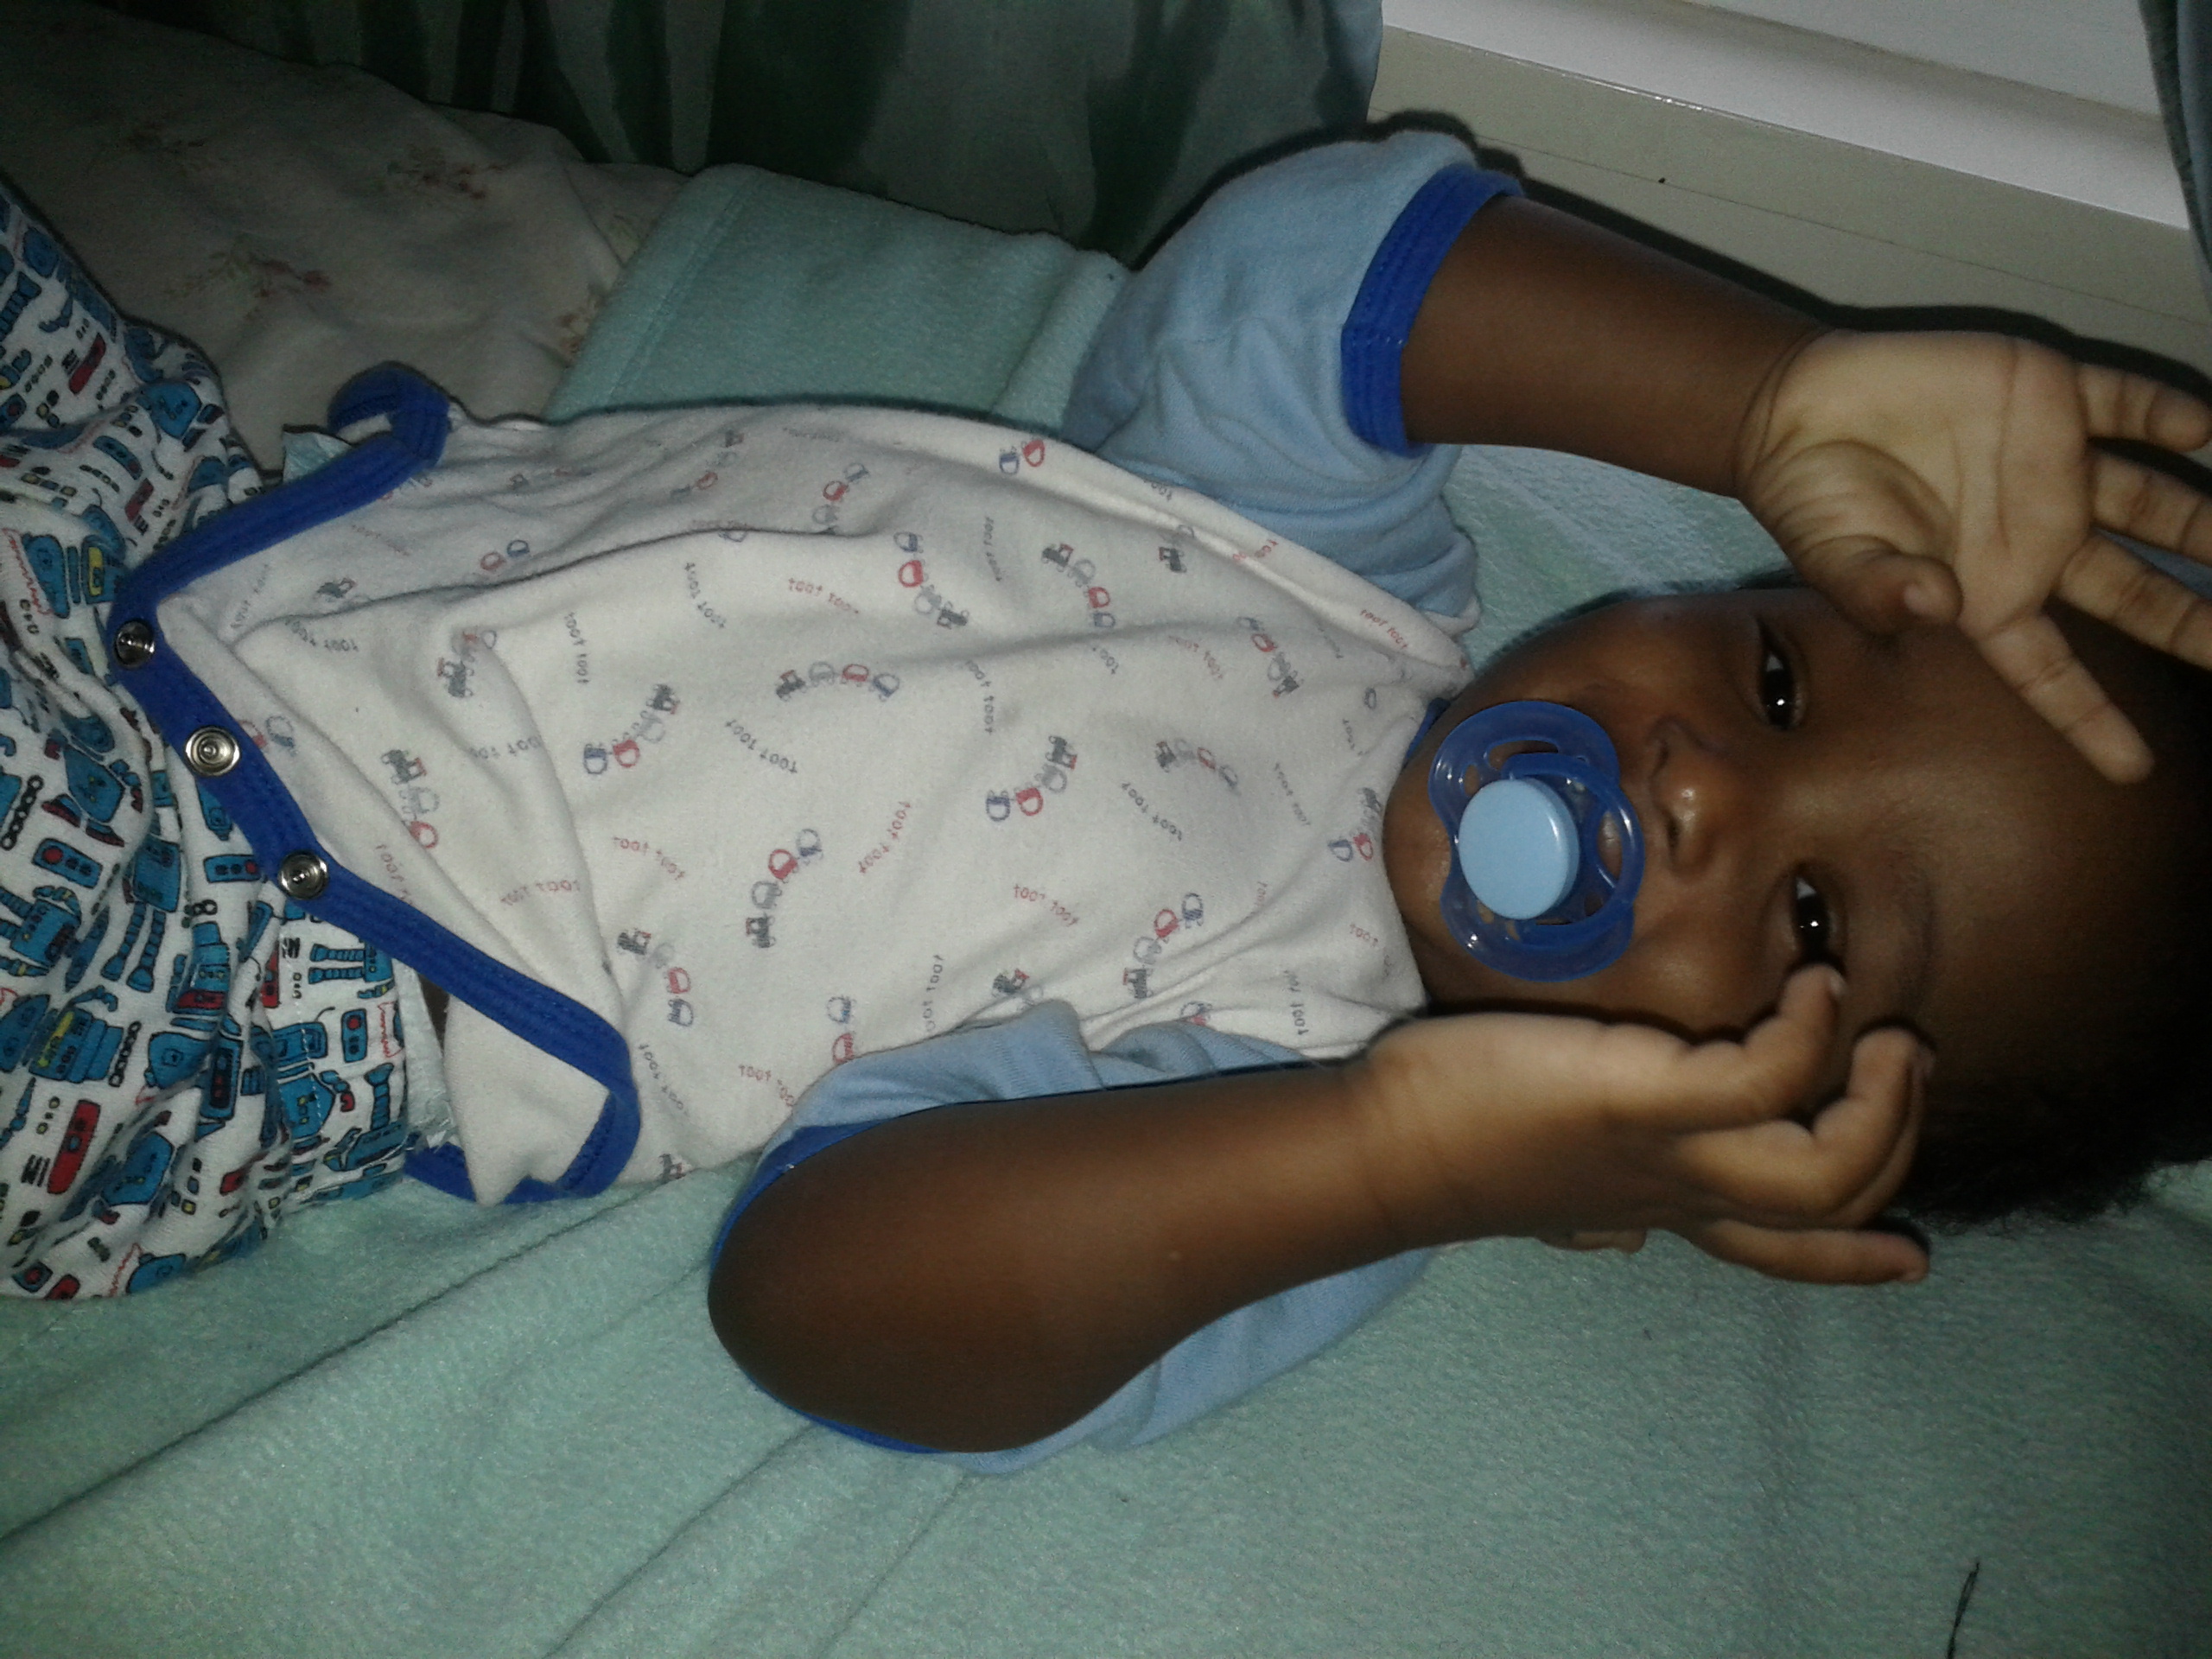
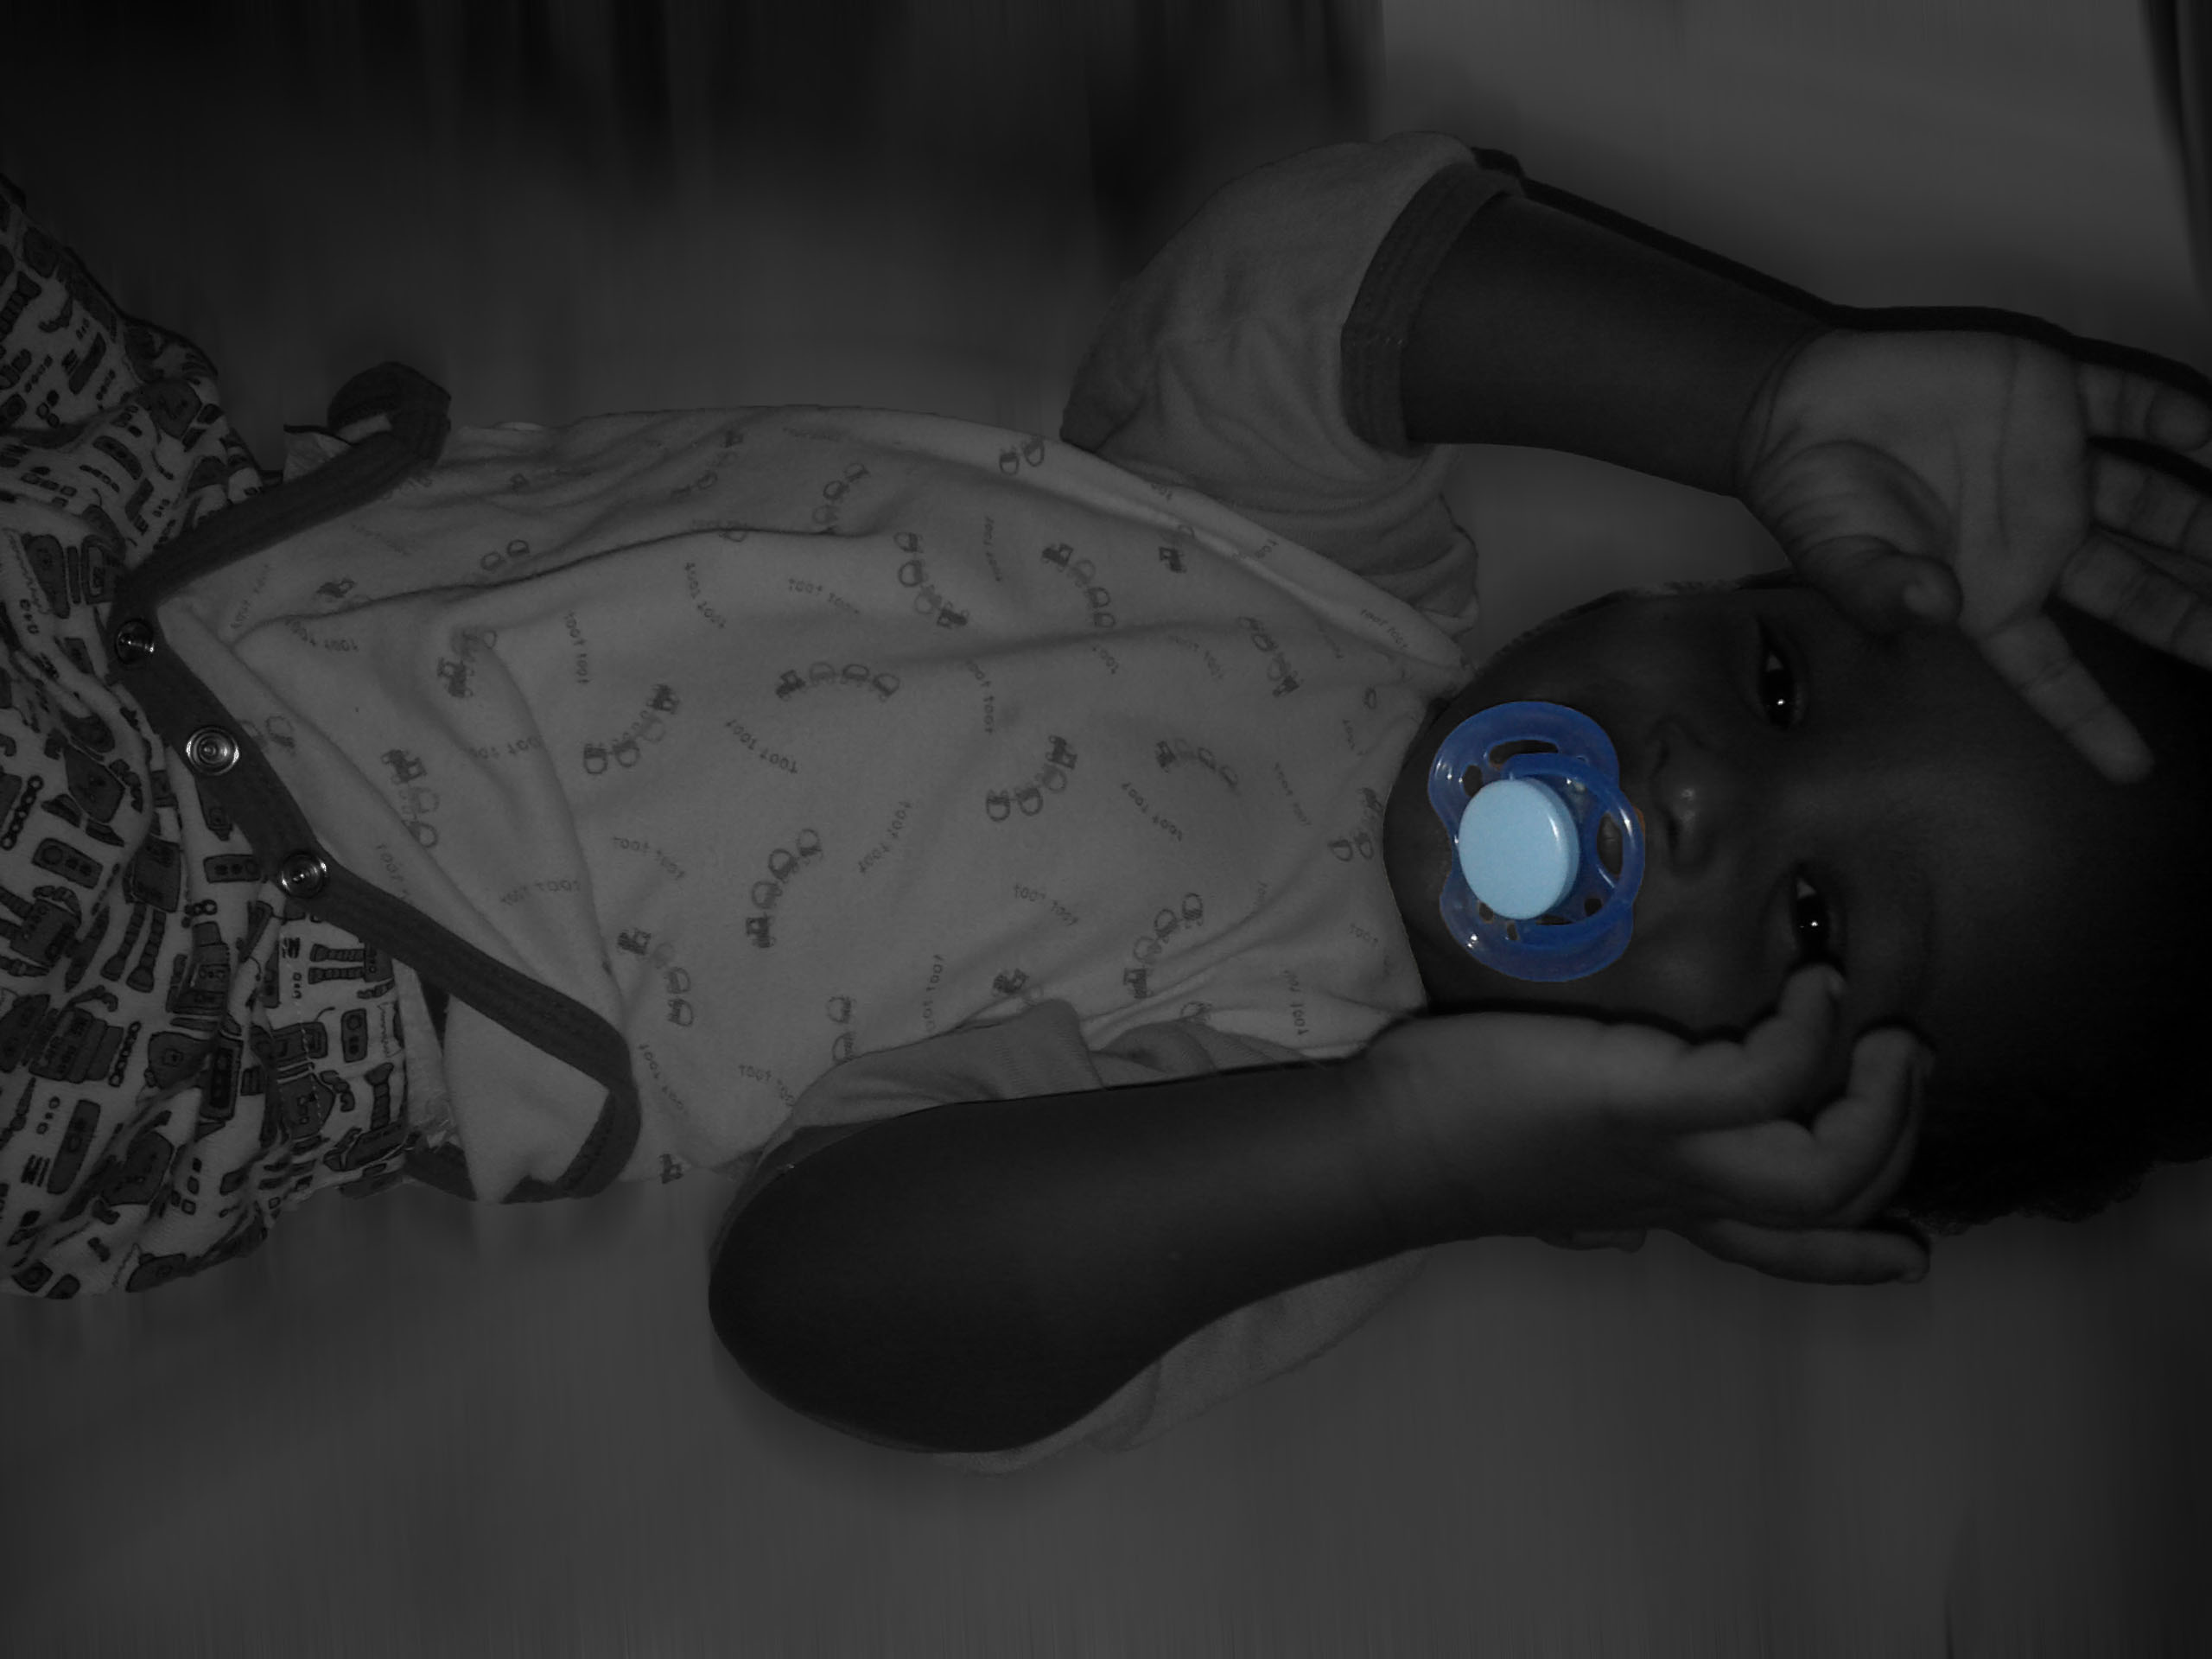
For these projects I had to turn the pictures into black and white and then make a certain color stand out. I like the overall effect, but there were some challenges. When editing I selected too much and then unwanted things were showing up. To fix this I zoomed in and did some fine tuning. If I had another chance, I may have changed the picture with the rose. I used color balance to change its appearance, but it still doesn’t stand out a lot. For each project i used a selecting tool and then the desaturate option. On top of that layer i had a colored layer that I edited to add color to what I wanted. I really like the effect of the cat eyes. I added more blue to it, and it gives more impact.


To color in the bride I would select an area and then use the color balance tool. To give the bride eye shadow I use the brush tool with an opacity around 25%. I think this was the most challenging image to edit. Since the image had similar tones, it was hard to select. To fix this problem, I zoomed in constantly to select in detail.


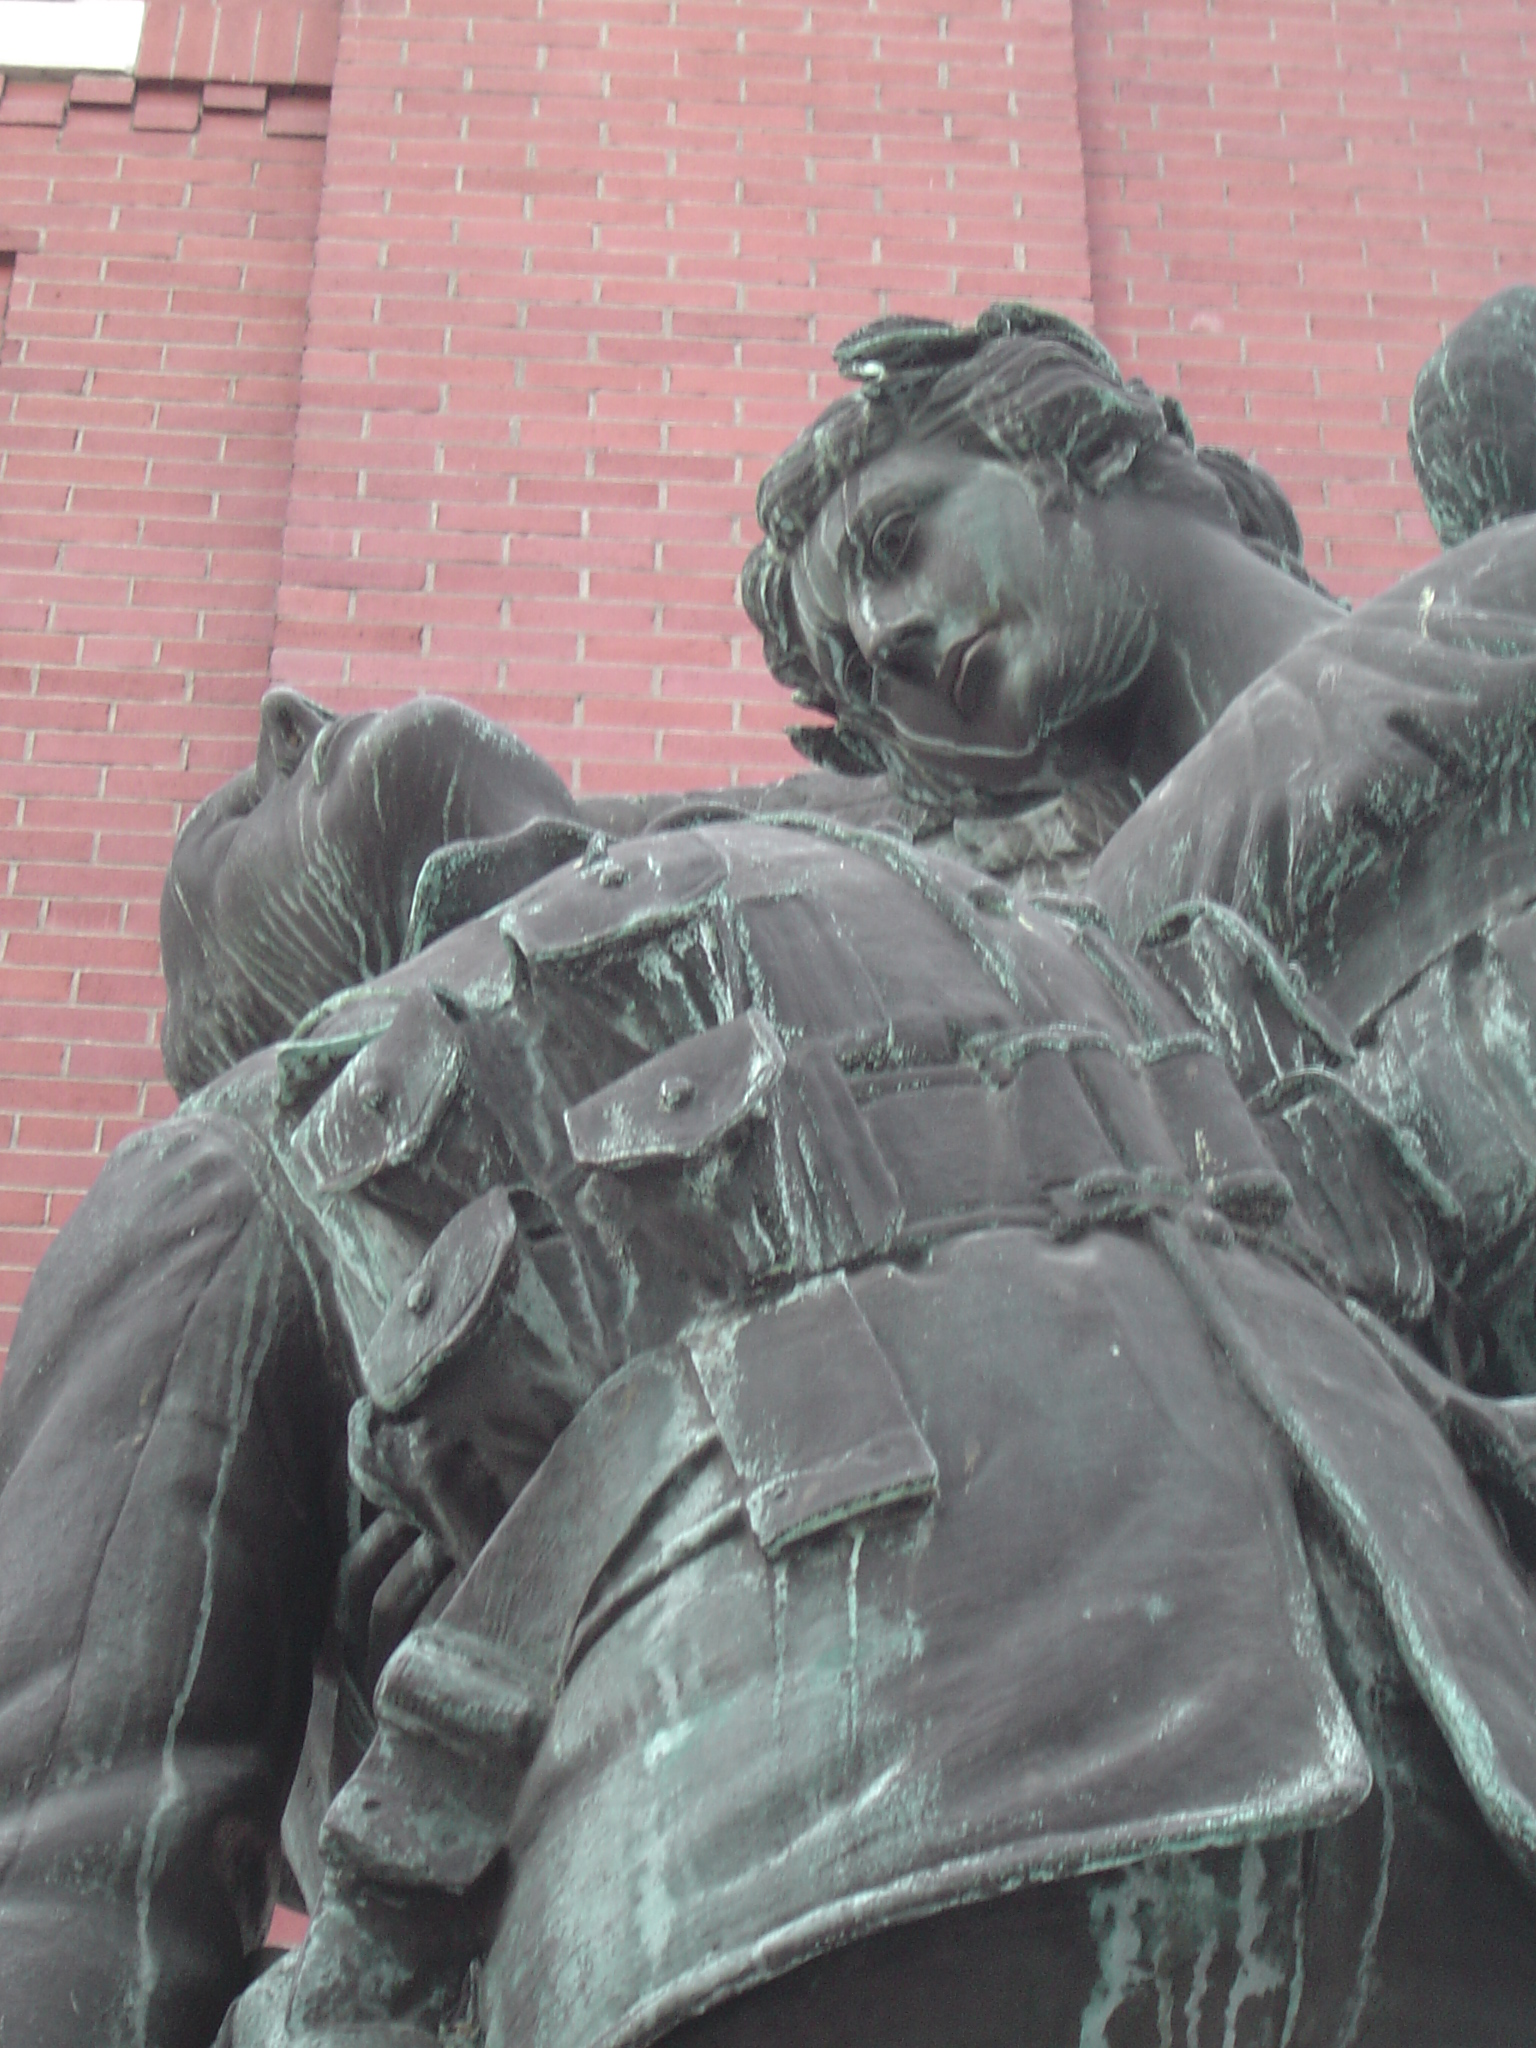

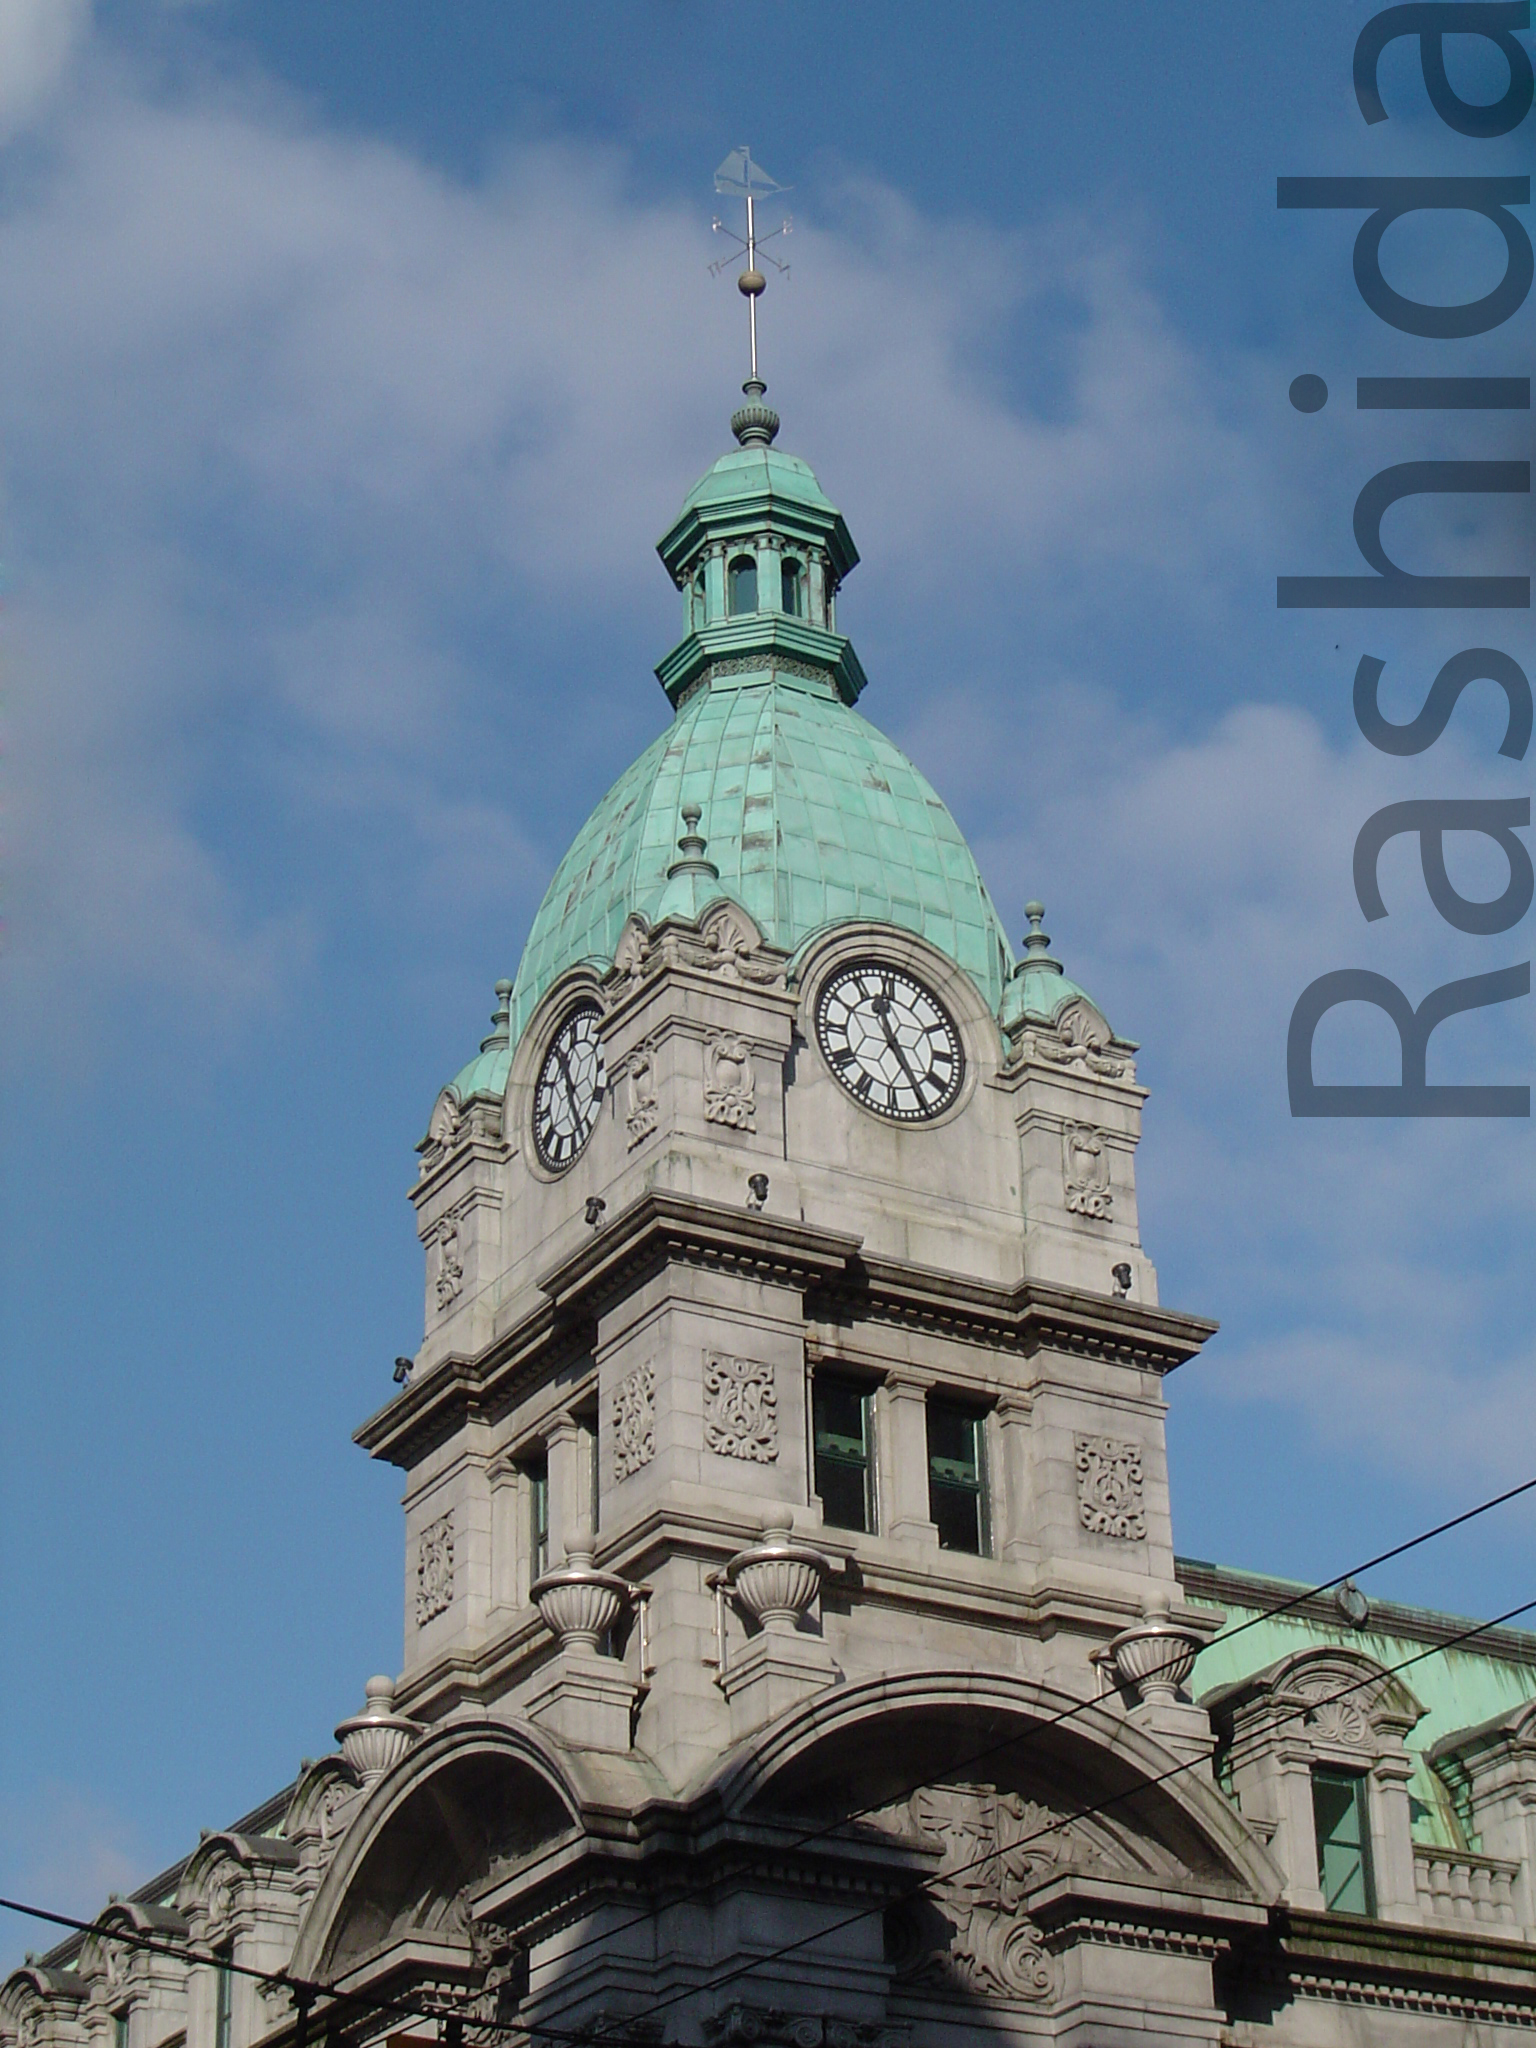
For this image I played around with the Color Balance( Image>Adjustments>Colour Balance) to give the statue a greener color and make the bricks seem redder.


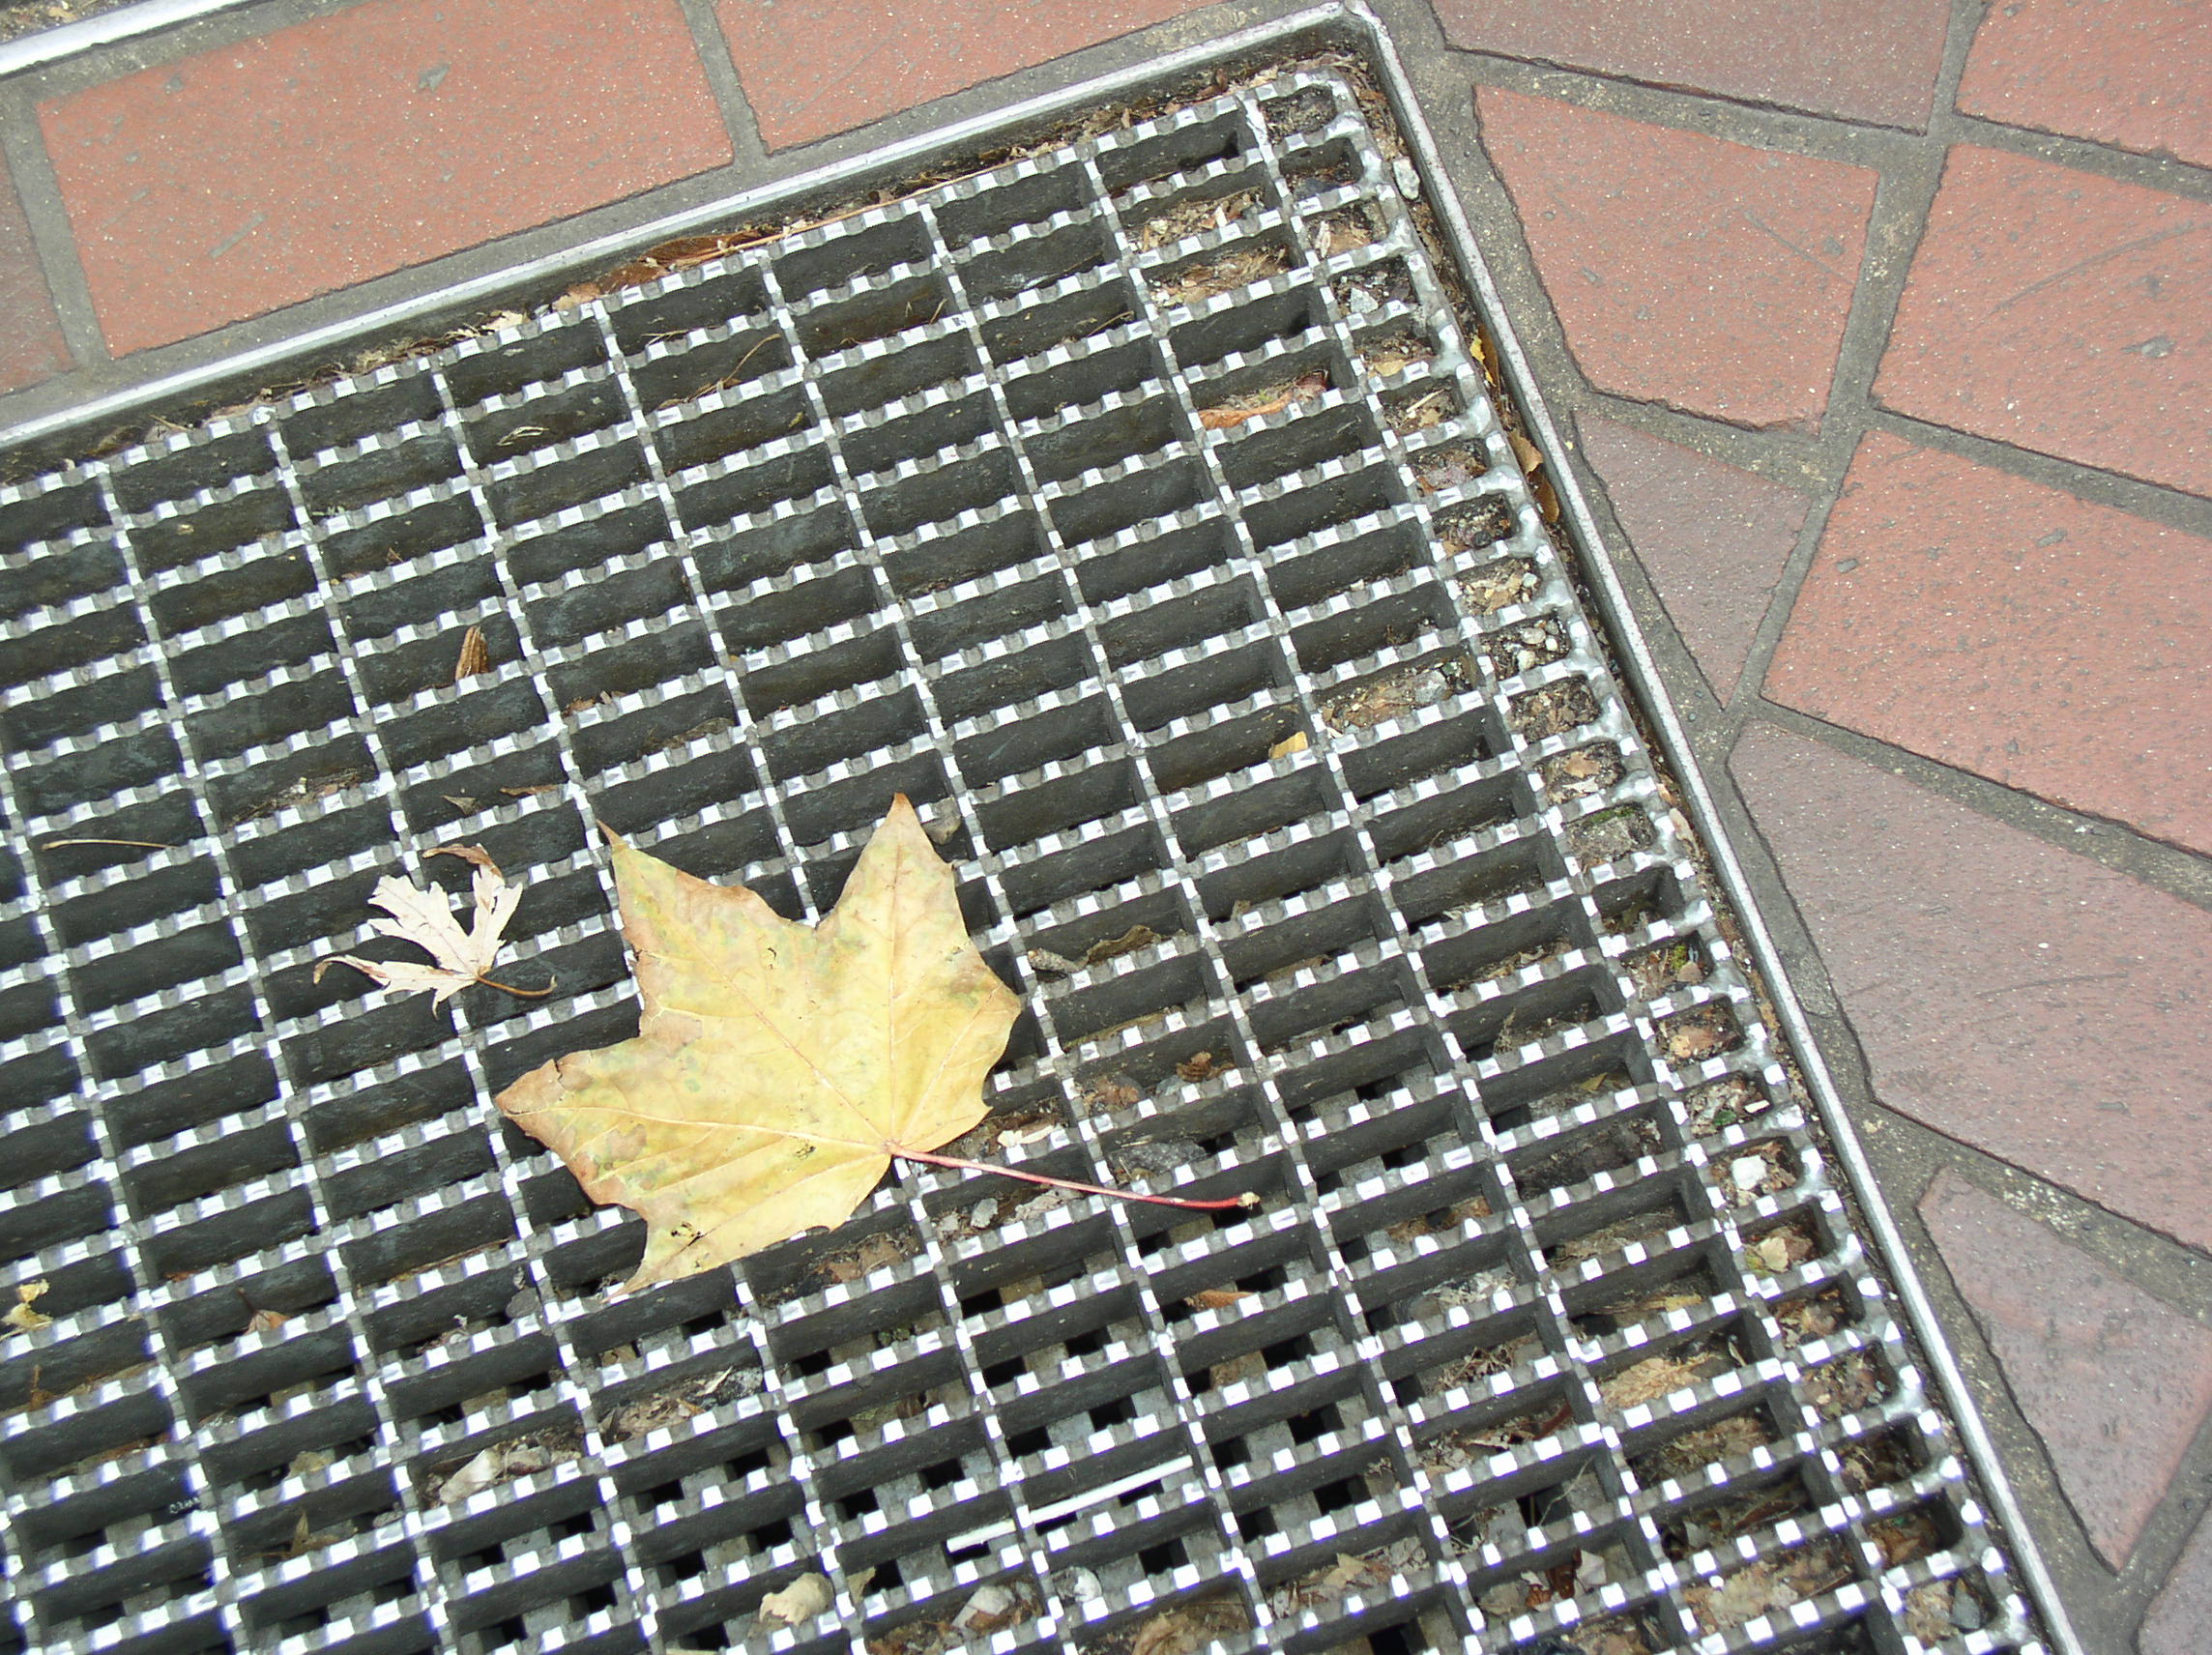
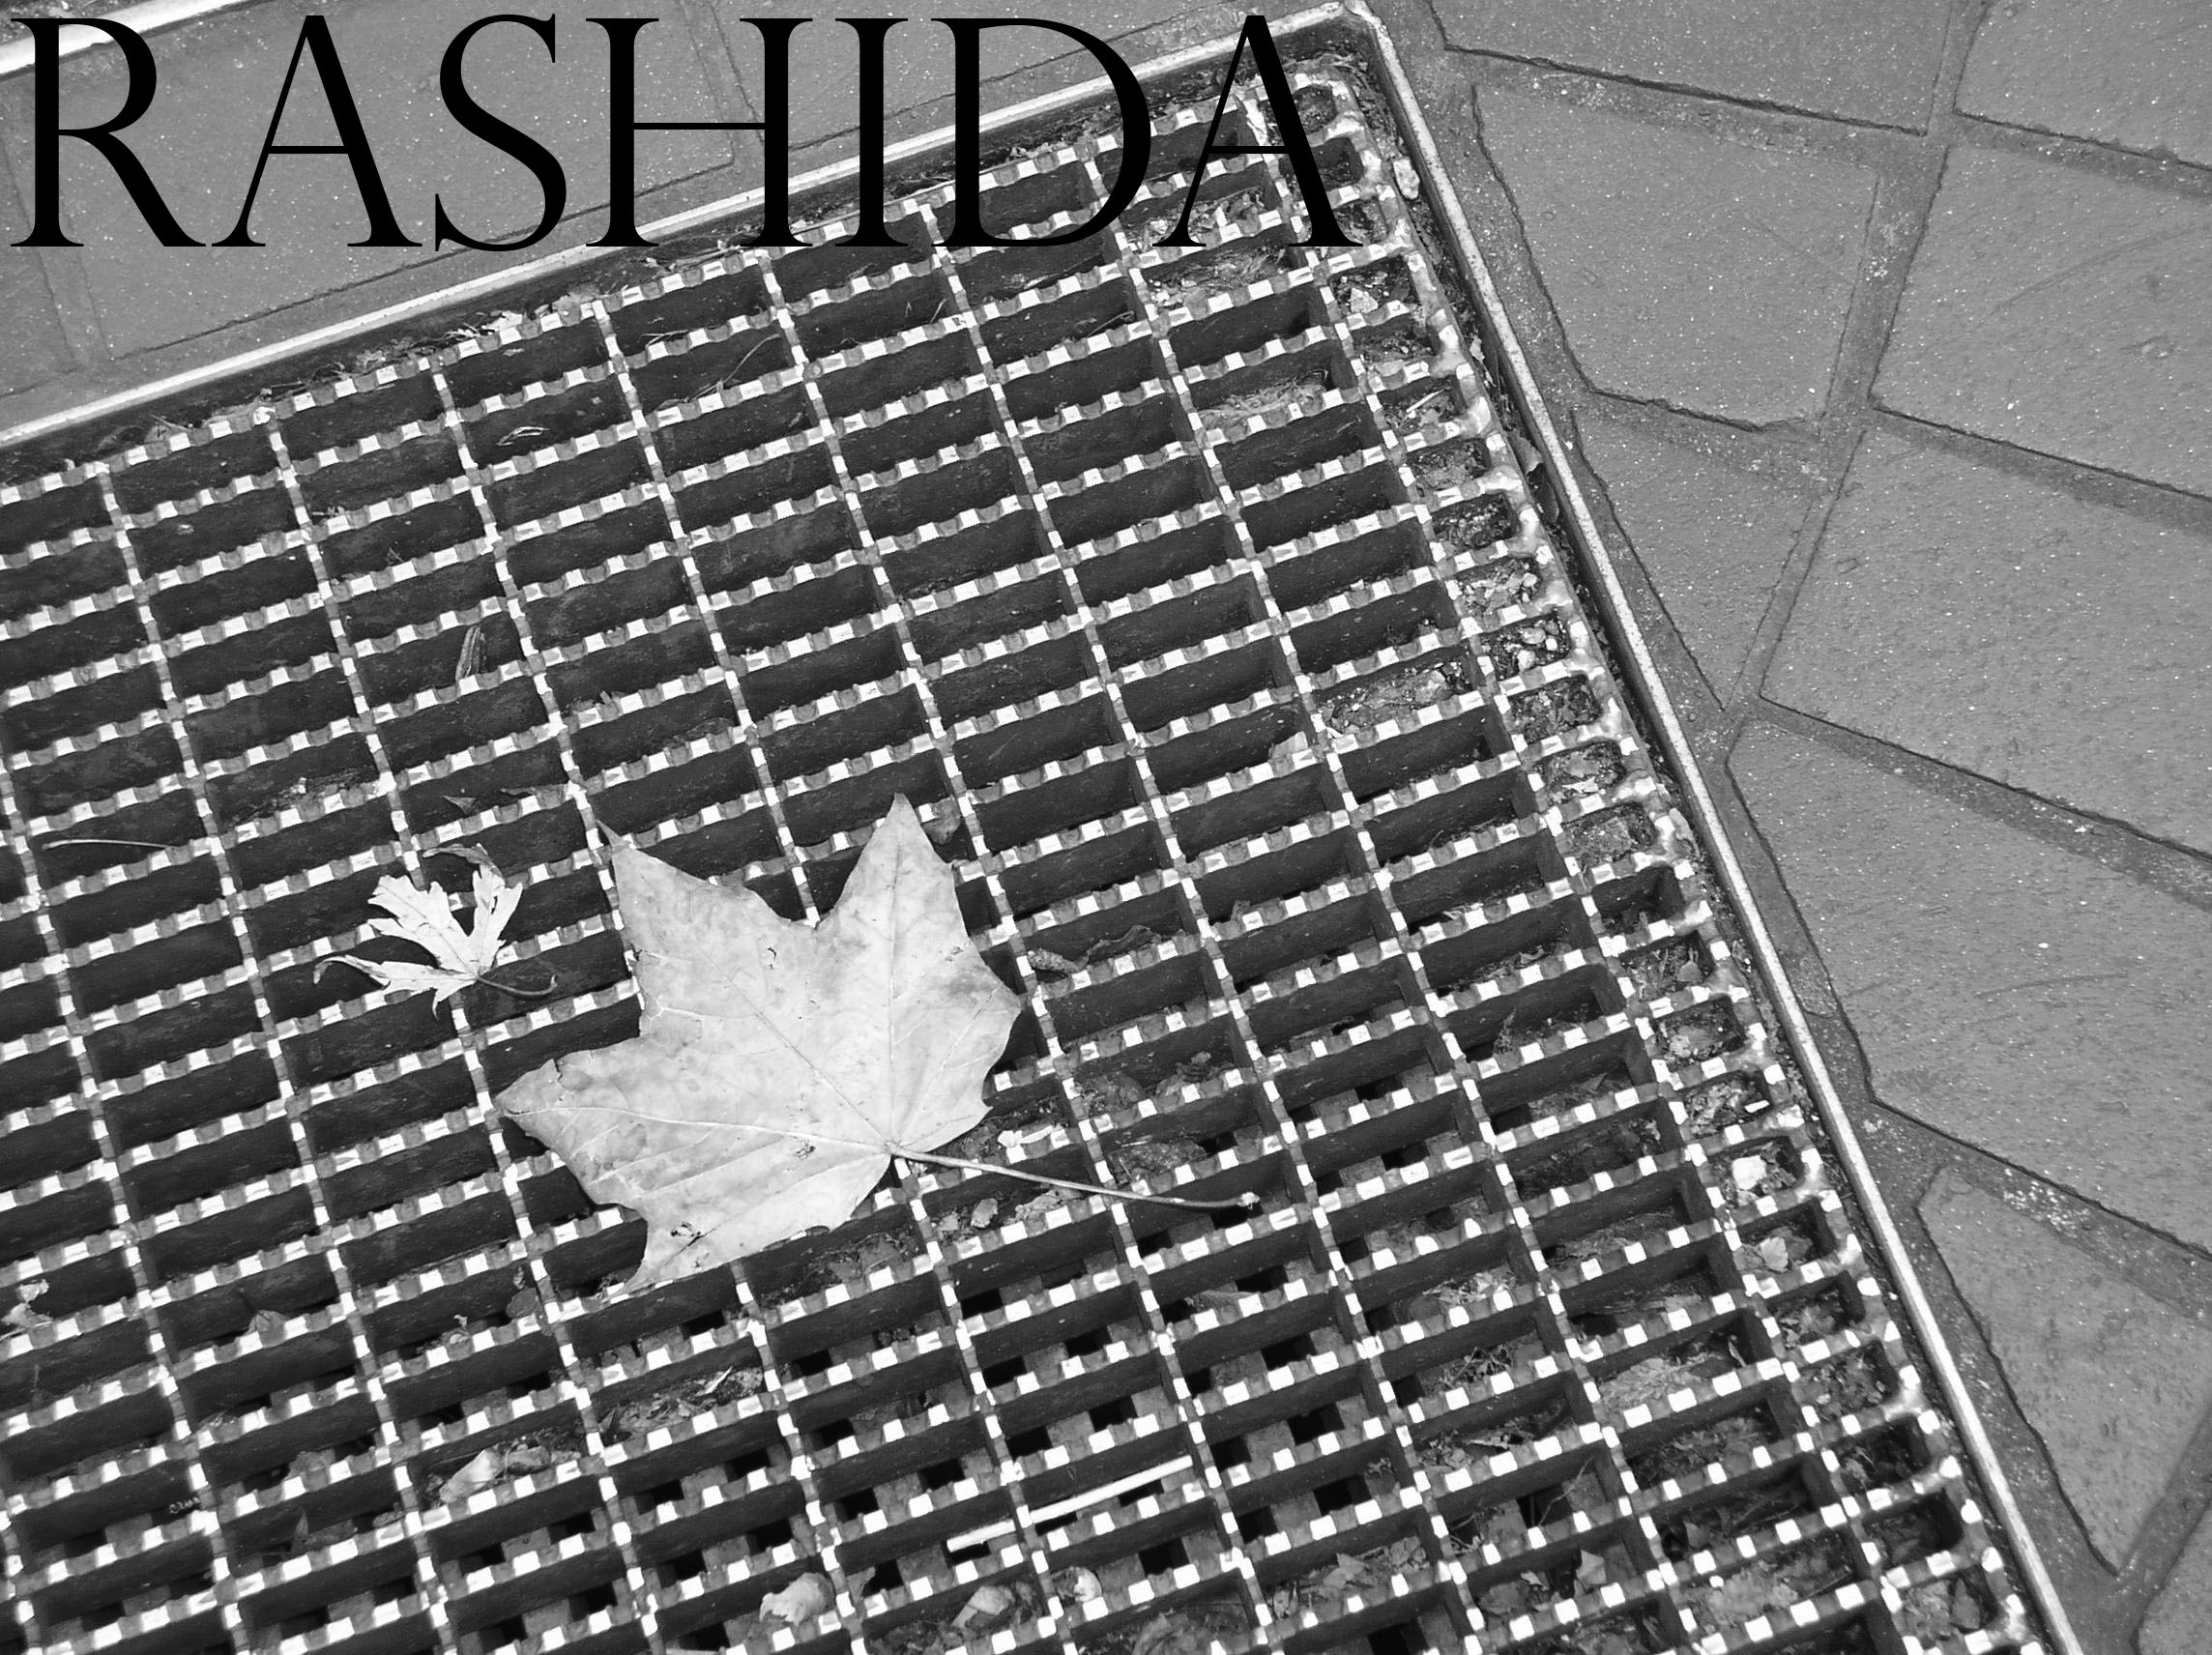
The task was to make this image look like it was an old ‘western’ photo. I played around with hue saturation (Image>Adjustments>Hue Saturation) to add thee Photoshop equivalent of a image filter.


The first step to editing this image was selecting the vase. Once I made a ‘Layer via copy,’ I was able to freely edit the background without changing the appearance of the flowers. I used Image>Adjustments>Desaturate to turn the image into gray-scale. I then adjusted the Brightness/Contrast. I personally left the glasses in color because I thought they would add to the picture.
I didn’t really do much to edit this image. I went to the Image adjustments, clicked Mode, then Gray-scale.
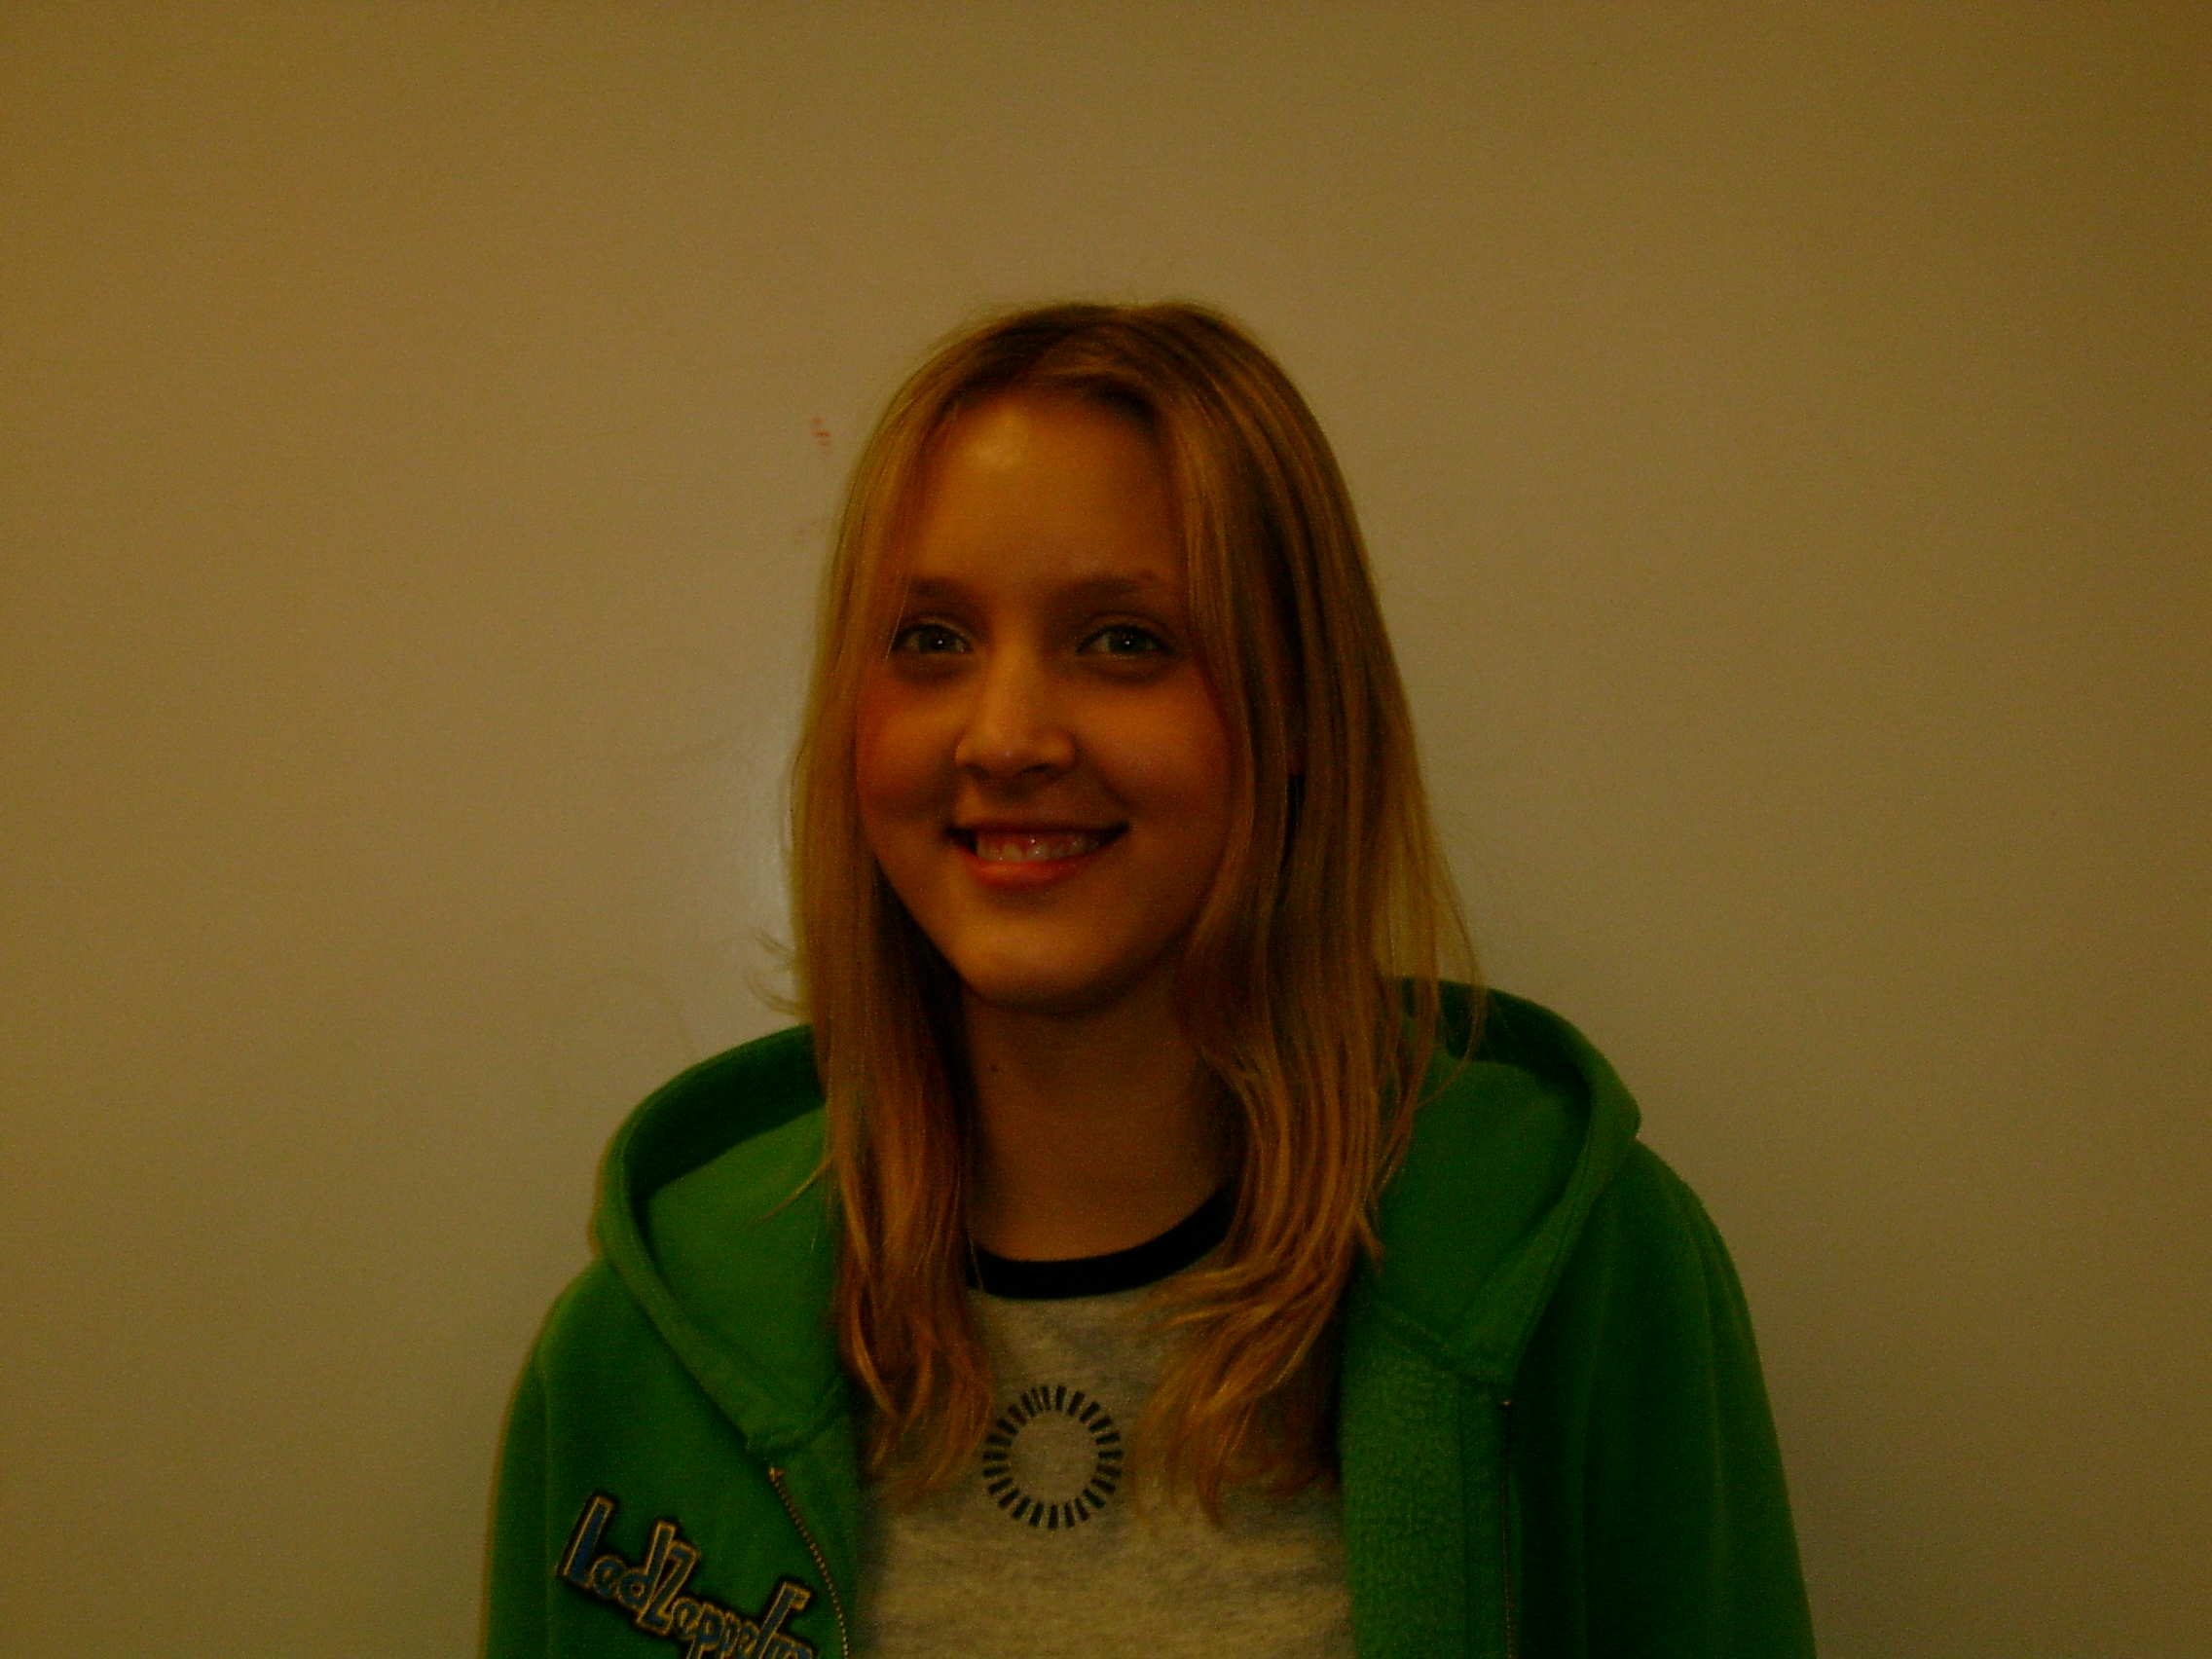

For this image all I did was change the brightness and contrast. To do this you click the Image tab, then adjustments and lastly Brightness/Contrast. I put the brightness slider as high as it could go, and the contrast level to -50. I also played around with the Color Balance settings to reduce the shininess.


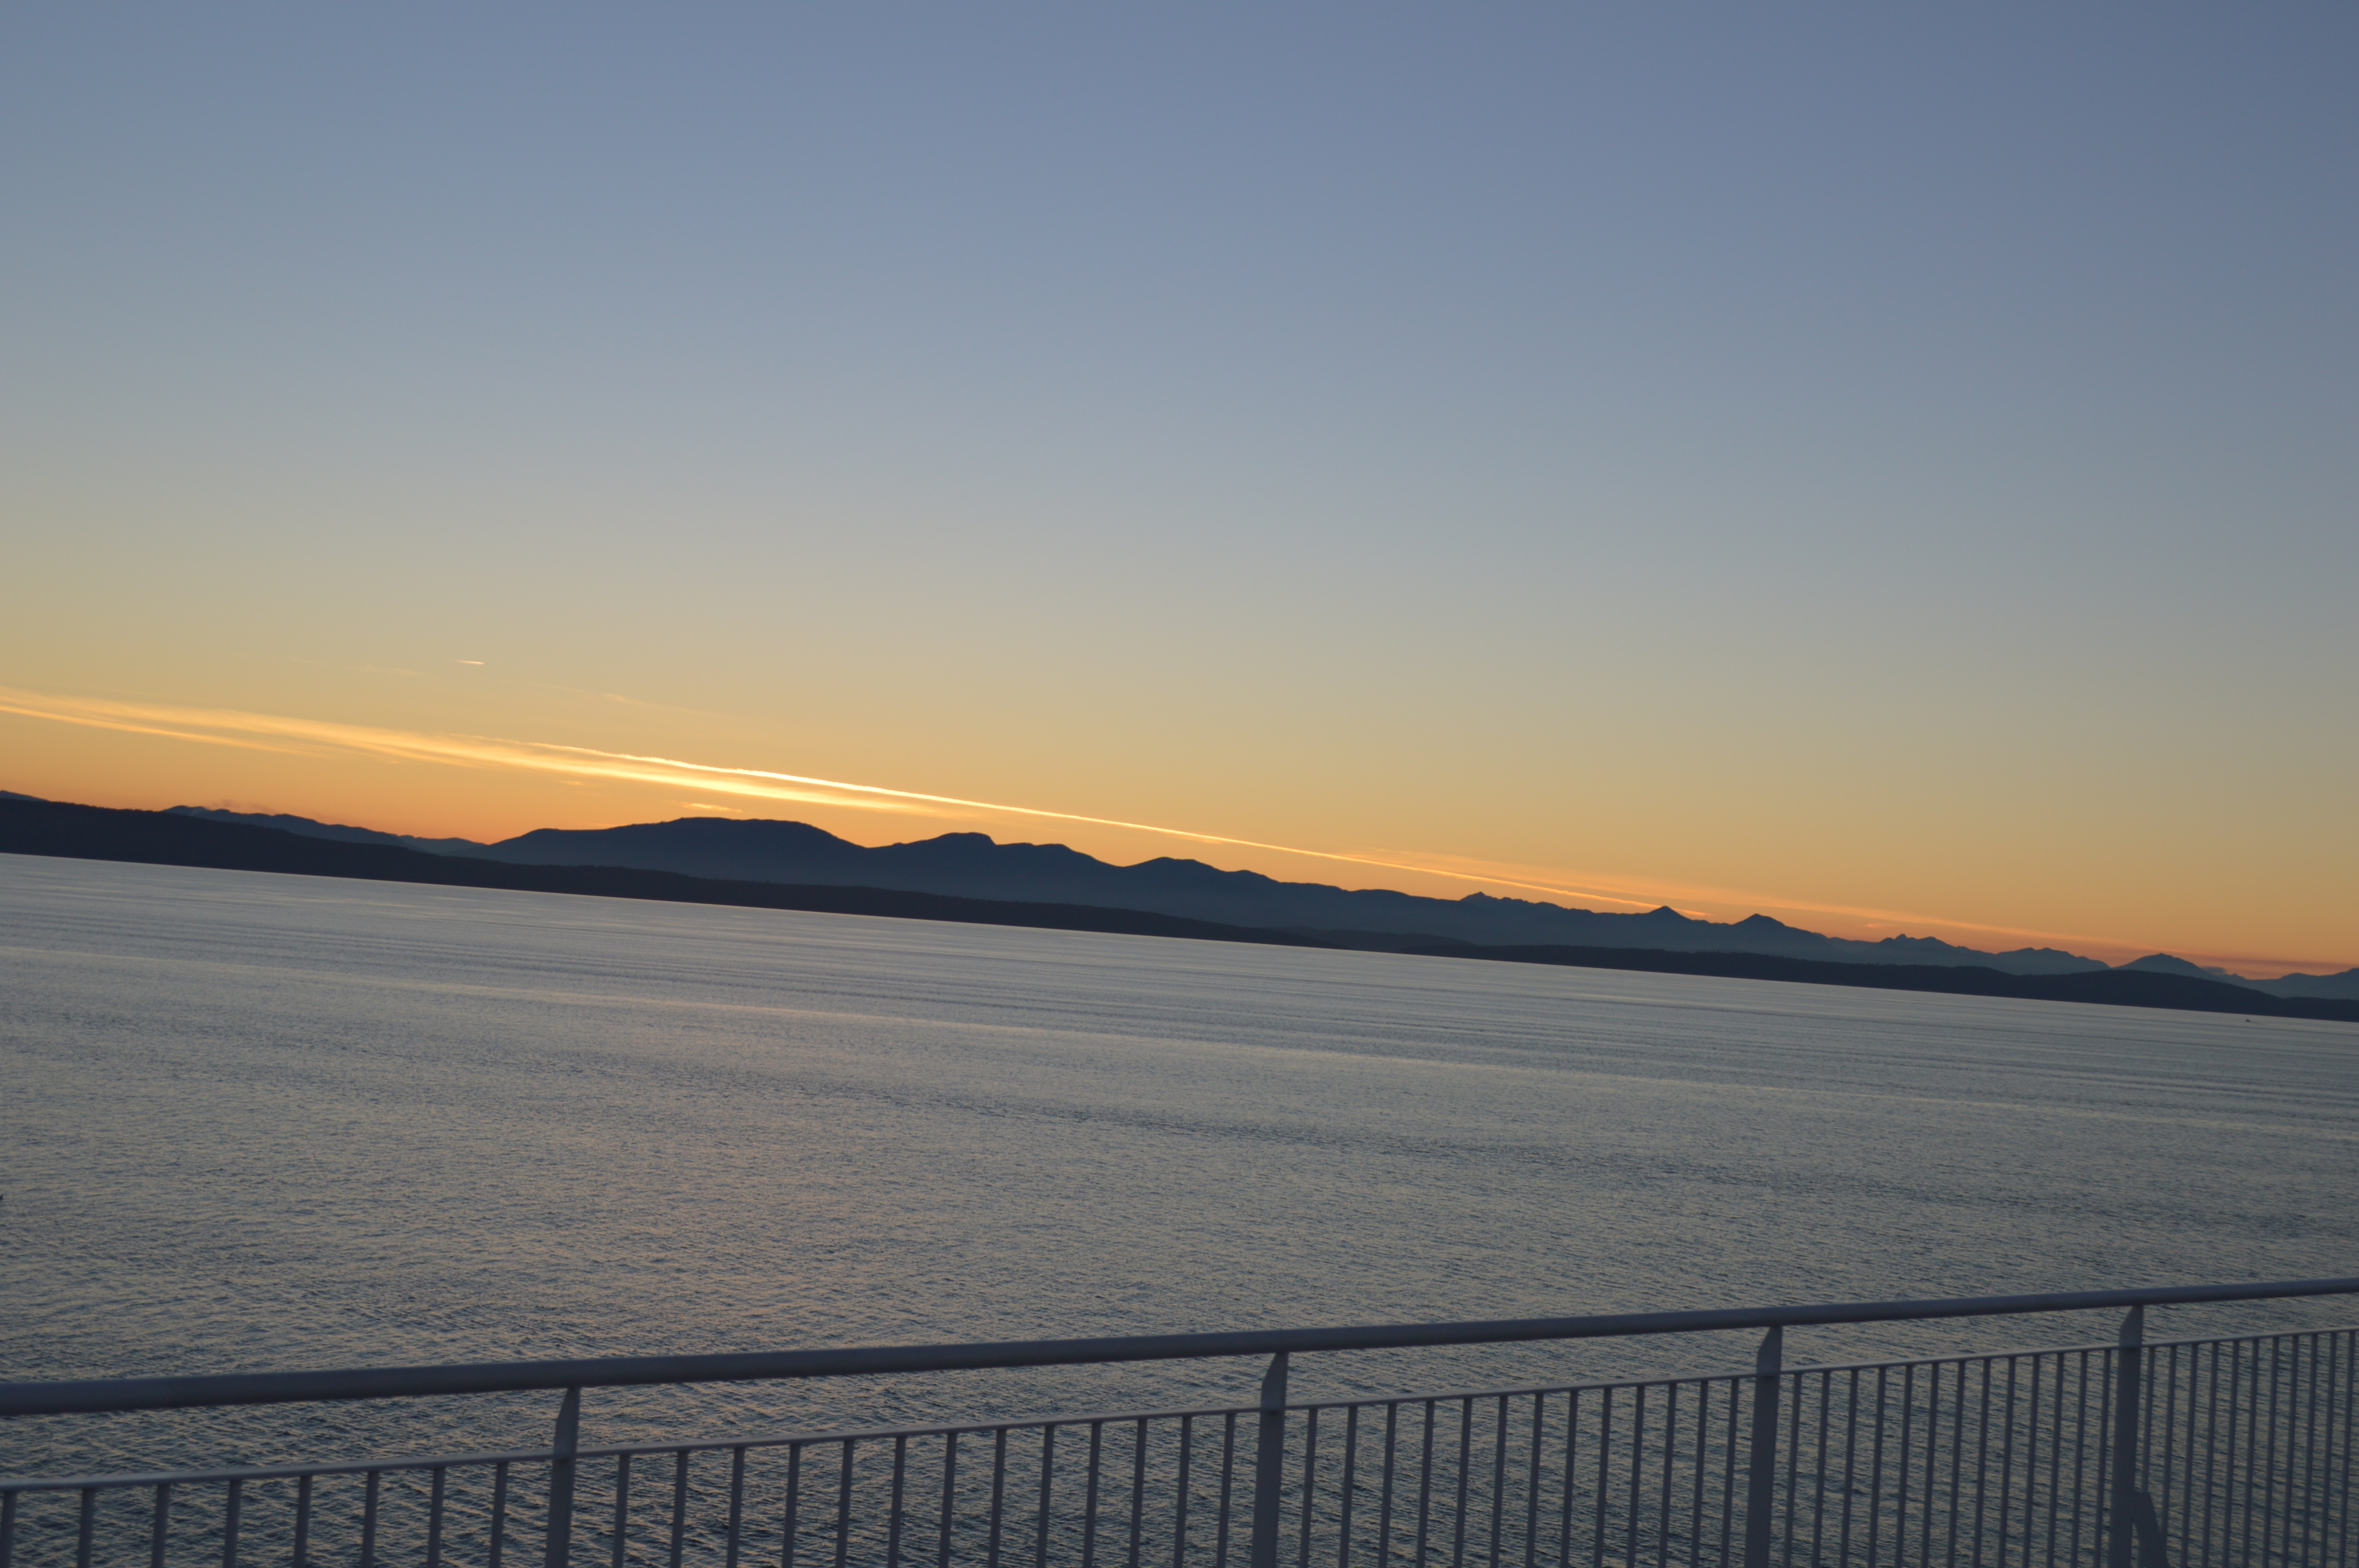

To remove the railing I mainly used the clone stamp tool. I did use the healing brush tool to blend the waves. I actually didn’t have any challenges.


I used multiple tools when editing this picture. One thing I did was change the background . I moved trees from the right side onto the left side. The lighter trees made the picture a bit brighter. I also removed the man in the middle. To do both these tasks I used the clone stamp tool. I then used the healing brush tool to try and make the added reflection look more natural. I also used the quick selection tool to add a surprise, can you spot it? The only problem I had was making the reflection look natural, but the teacher showed me how to do it. If I had one more chance I would probably remove the grass in the bottom right corner. I can’t say that there is one specific thing that I am proud of.
Cloning Tools


For this image I used the clone stamp tool. One problem I had was covering the ducks near the water. I had trouble making the empty spaces look natural, but I was able to do it by going over what I had done multiple times. I did a pretty good job but I think it still looks a bit awkward. I can’t believe I was able to even get this far into Photoshop!

For the image with the acne I solely used the healing brush tool. A problem I had was getting the skin-tone to match up and also trying to remove the redness. Some things I did to overcome this were constantly re-selecting and selecting an area near the blemishes. I am happy that I was able to remove all those pimples from that face, but I feel like they still have a bit of redness.

Personal Collage

To make this collage I opened pictures in Photoshop and used many means to copy/paste them. For three pictures in the top right corner(the sunset, the swords, and the picture containing me), I used the marquee tool. The selection tool that I used the most was the ‘Quick Selection’ tool. If you look at the cartoon girl near the bottom left corner you may not notice anything, but she was originally in grey-scale. I used the paintbrush and lessened the opacity to make the colors blend. The guy in the top left corner has a little aura to him which I created by going to blending options and selecting an outer glow. A problem I had was the fact that the teacher wanted there to be minimal blank spots. Since there were certain parts of images that I wanted to be visible, it took me a while to figure out how to arrange them. Another difficult task was applying affects without having it mess up another photo. I was able to get over that hurdle by constantly rearranging. I think that this project was a quite close interpretation of myself and I am happy that I was able to get so many aspects of my life into it.
Photoshop Collage


To create this project I used three different types of selection tools. For the ‘Granville Island’ sign in the middle, I used the rectangular marquee tool. For the clock in the right corner I used the quick selection tool. It is hard to see, but for the image of buildings in the bottom right, I used the lasso tool. Once I selected on area, I simply copied and pasted in onto the new file I had created. The weren’t any real challenges, but at first I wasn’t sure how I was supposed to change the size of certain images. The teacher introduced the transform options and I was back on track. I ruched this collage a little and so some things were randomly placed. I wish I could rearrange the images and use the tools differently. Even though there are many flaws, I am still satisfied with this project overall. I hadn’t used Photoshop in a while but I was still able to create something decent.
I have used Photoshop before. Not only have I used it in school, but also for the fun of it. I have tried using Photoshop to draw (using my Wacom tablet) but that was on older version which I do not have access to anymore. I have edited a picture so that it looked a horse was running in a field, but I don’t remember how.
